

How to install composite cladding: the step-by-step guide
How to install composite cladding: the step-by-step guide
- Protect the substrate with a breather membrane.
- Fix the battens (timber or metal) at 600 mm centres maximum (400 mm for WEO® Essential), protected with EPDM tape.
- Make sure the cladding is ventilated: a 20 mm air gap, top and bottom air inlets and 150 mm ground clearance.
- Trim every board to size before installation.
- Install and screw the boards in the chosen direction: horizontally from the bottom up, vertically on a double batten grid.
- Leave a 5 mm expansion gap and finish with the aluminium trims.
Installed correctly, composite cladding gives you a stable, ventilated and good-looking facade for many years. This guide applies to every WEO® composite cladding range and takes you step by step through the installation recommendations: tools and materials, battens, ventilation, vertical or horizontal installation, fixing and finishing, for new builds and renovations alike.
The dimensions and screw references given here come from the technical guide for WEO®35 and WEO®60, our most widely installed boards. For WEO® Essential and WEO® 120-60 the principles are the same (ventilated batten frame, air gap, expansion of 1 mm per linear metre); only the batten spacing differs for WEO® Essential (400 mm). Check the fixing details in their product data sheet.
What tools and materials do you need to install composite cladding?
Before you start, gather the right materials and tools:
- WEO® cladding boards from your chosen range:
- WEO®35 and WEO®60: open-joint effect, 170 mm overall width, 140 mm effective width, lengths of 2.90 m or 3.90 m.
- WEO® Essential: 15 × 173 mm interlocking shiplap profile, lengths of 2.90 m or 3.90 m, hidden fixing. Note that its frame requires 400 mm batten spacing.
- WEO® 120-60: open-joint effect with two widths (120 and 60 mm) on a single board, length 3.90 m.
- The batten frame: timber battens of use class 2 with a protective tape, or use class 3b, with a minimum strength class of C18, or a metal frame.
- A breather membrane and EPDM tape to protect the battens.
- Stainless steel screws: self-drilling stainless steel screws for WEO® Essential and WEO® 120-60; for WEO®35 and WEO®60, Fiberdeck A2 stainless steel screws:
- Hidden fixing (vertical installation): 4.2 × 32 mm screws, ref. FD1940, box of 200.
- Face fixing: 4.2 × 38 mm colour-headed screws, ref. FD1447 to FD1451 depending on the colour, box of 100 with T20 bit.
- Matching powder-coated aluminium trims: F profile 65 × 80 mm, Click profile 50 × 50 mm or 35 × 41 mm. For WEO® Essential: aluminium starter profile and 35 × 45 mm powder-coated corner angles.
- A table-mounted mitre saw for cross-cutting.
- A cladding screwdriver fitted with a torque limiter or depth stop. Never use an impact driver: a screw head driven in too deep can crack the board.
For WEO®35 and WEO®60, allow around 12 screws per m² (600 mm centres) and 2.46 boards per m² in 2.90 m lengths or 1.83 boards per m² in 3.90 m lengths.
Composite cladding installation steps
WEO® boards are installed in a set sequence, from protecting the substrate through to the finishing trims. The video below shows a complete WEO®35 cladding installation:
Step 1:store the boards and protect the substrate
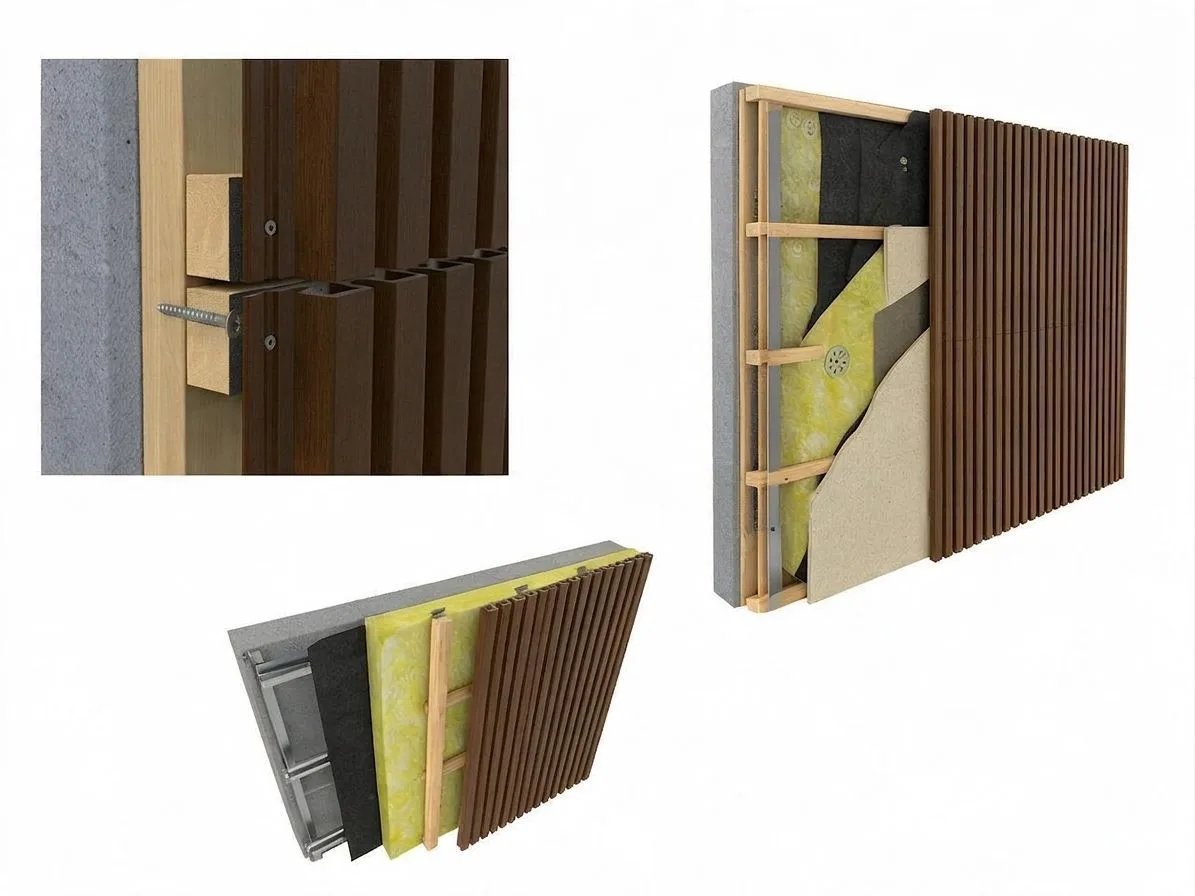
Composite wood is prone to creep: always store the boards flat, supported along their full length, under the pallet's protective cover, with nothing stacked on top. Carry them one or two at a time, on edge. On site, start by unrolling and fixing the breather membrane to the substrate.
Step 2:fix the batten frame
The secondary frame takes the wind loads and holds the cladding away from the wall. Its section depends on the substrate:
- Direct fixing to masonry (blockwork, concrete): 27 × 40 mm battens.
- Installation over external wall insulation: a first layer of 60 × 40 mm counter-battens, then a second layer of 27 × 40 mm battens.
- Metal frame: frame and brackets compliant with CSTB Cahier 3194_V2, with a minimum bearing width of 30 mm on each upright.
Batten spacing is 600 mm maximum for WEO®35, WEO®60 and WEO® 120-60 (645 mm on timber-frame buildings for WEO®35 and WEO®60), and 400 mm for WEO® Essential. Double the battens where boards butt together: with full lengths of 2.90 m or 3.90 m, allow 300 mm spacing at board ends. Protect the battens with EPDM tape.
Step 3:ensure ventilation and ground clearance
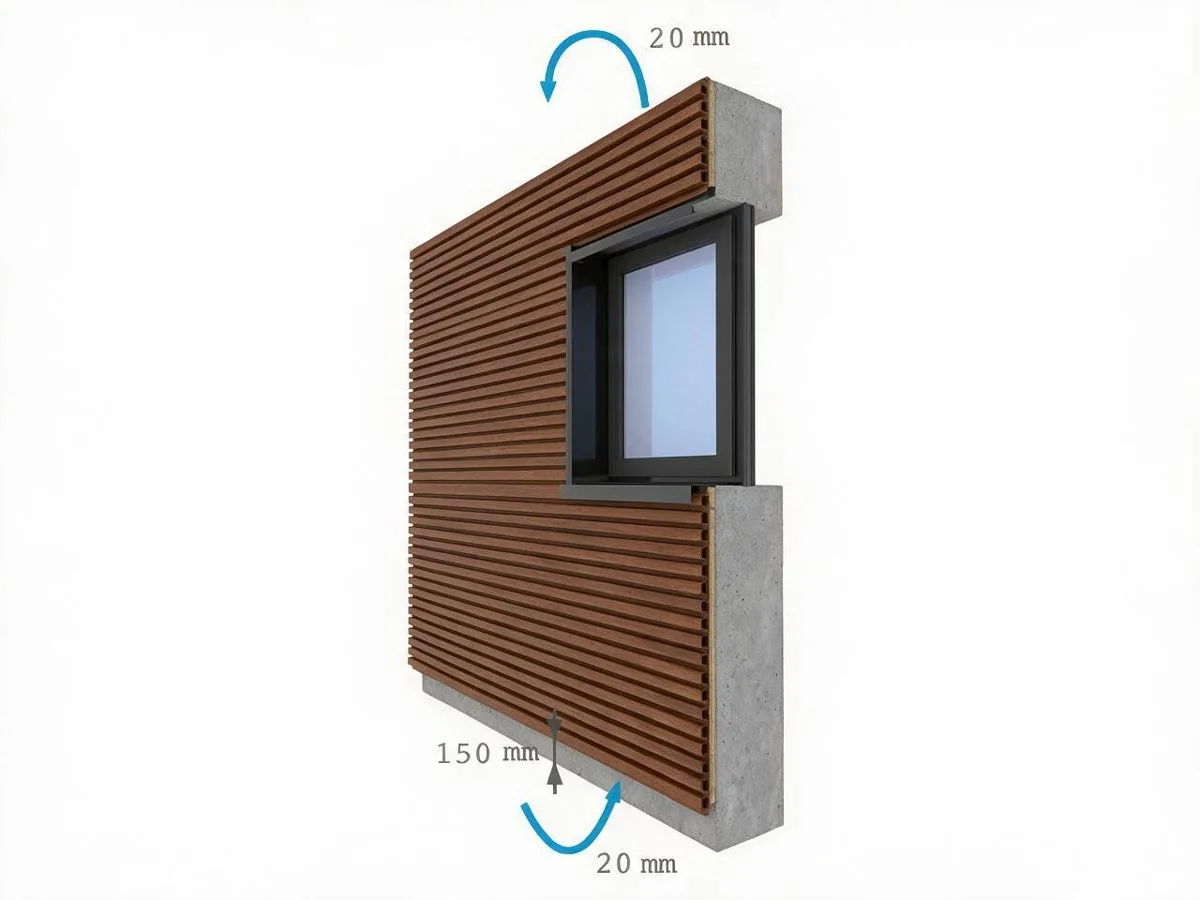
A continuous air gap of at least 20 mm must be kept between the back of the boards and the supporting wall, or the insulation where present. Provide top and bottom ventilation, with a 15 mm opening at parapets, window reveals and lintels. At the base of the facade, keep 150 mm clearance above finished ground level, reduced to 50 mm over hard ground with a metal frame.
Step 4:trim and cut the boards
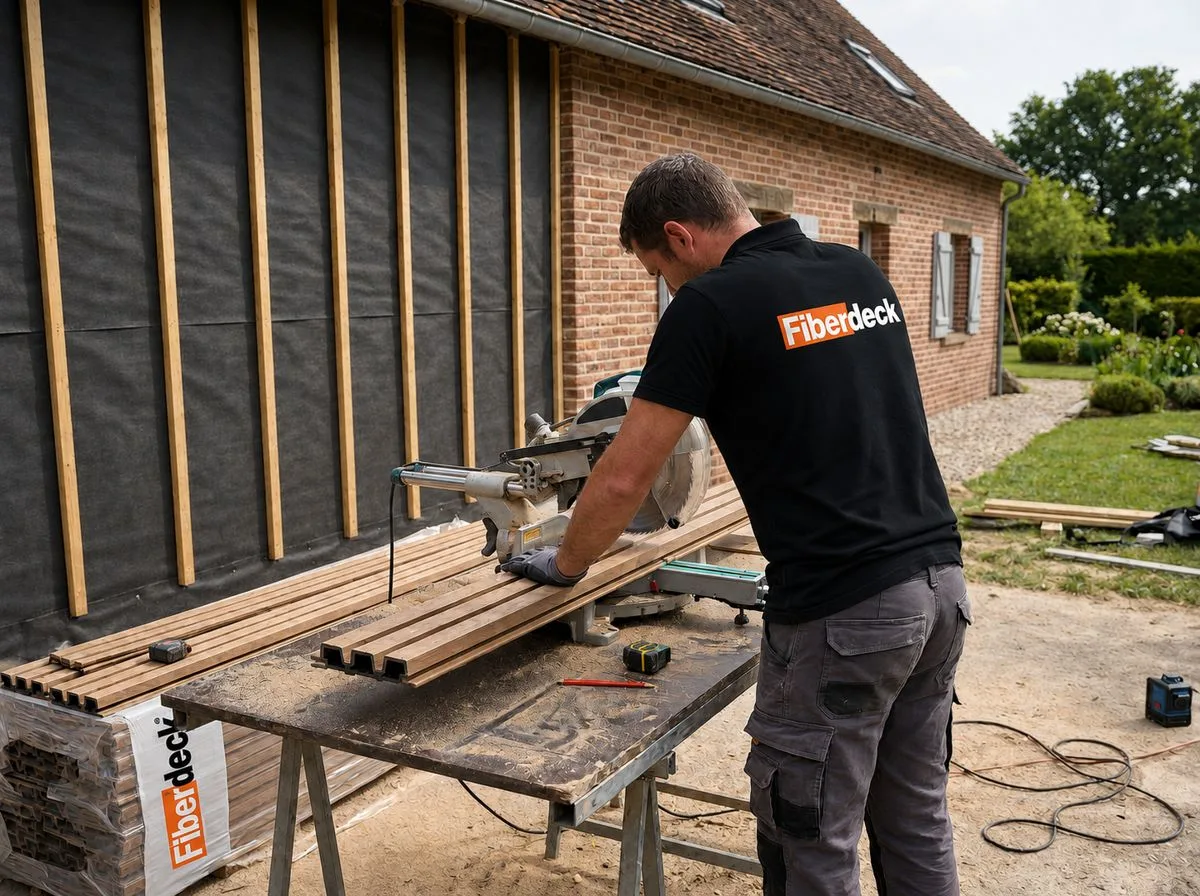
Boards may be up to 10 mm over length from manufacture. Always trim them to the required length with a mitre saw for square edges and clean joints.
Step 5:install and fix the boards
The fixing method depends on the installation direction: face screwing for horizontal installation, hidden or face screwing for vertical installation. Both methods are explained in the next section. In all cases, two boards always butt together over a batten, and the screw head should sit on the board without being forced.
Step 6:allow for expansion and fit the trims
WEO® boards expand by about 1 mm per linear metre for a 40 °C temperature change: a 3.90 m board going from 5 °C in the morning to 40 °C in the afternoon grows by about 3 mm. Leave a 5 mm gap between each board end and any obstacle (window or door frame, wall, corner, another board). Then hide the gaps and cut ends with the matching powder-coated aluminium trims (F profile or Click system) on external and internal corners and around openings.
Vertical or horizontal installation: what's the difference?
All WEO® boards (WEO®35, WEO®60, WEO® Essential and WEO® 120-60) can be installed horizontally or vertically. The choice is first of all a design one, but it changes how you build the frame and fix the boards. The table below summarises the WEO®35 and WEO®60 guide recommendations.
| Criterion | Horizontal installation | Vertical installation |
|---|---|---|
| Frame | One layer of vertical battens | Double cross-batten grid, so air can flow from bottom to top |
| Fixing | Face fixed: one colour-headed screw in a single groove | Hidden: FD1940 screw in the lower tongue. Face fixing possible |
| Batten spacing | 600 mm maximum | 600 mm maximum |
| Direction | From the bottom up, row by row, tongue facing up | Board by board, each board screwed to the battens of the outer layer |
| Look | Classic lines, the facade looks wider | Contemporary effect, the facade looks taller |
Horizontal composite cladding installation
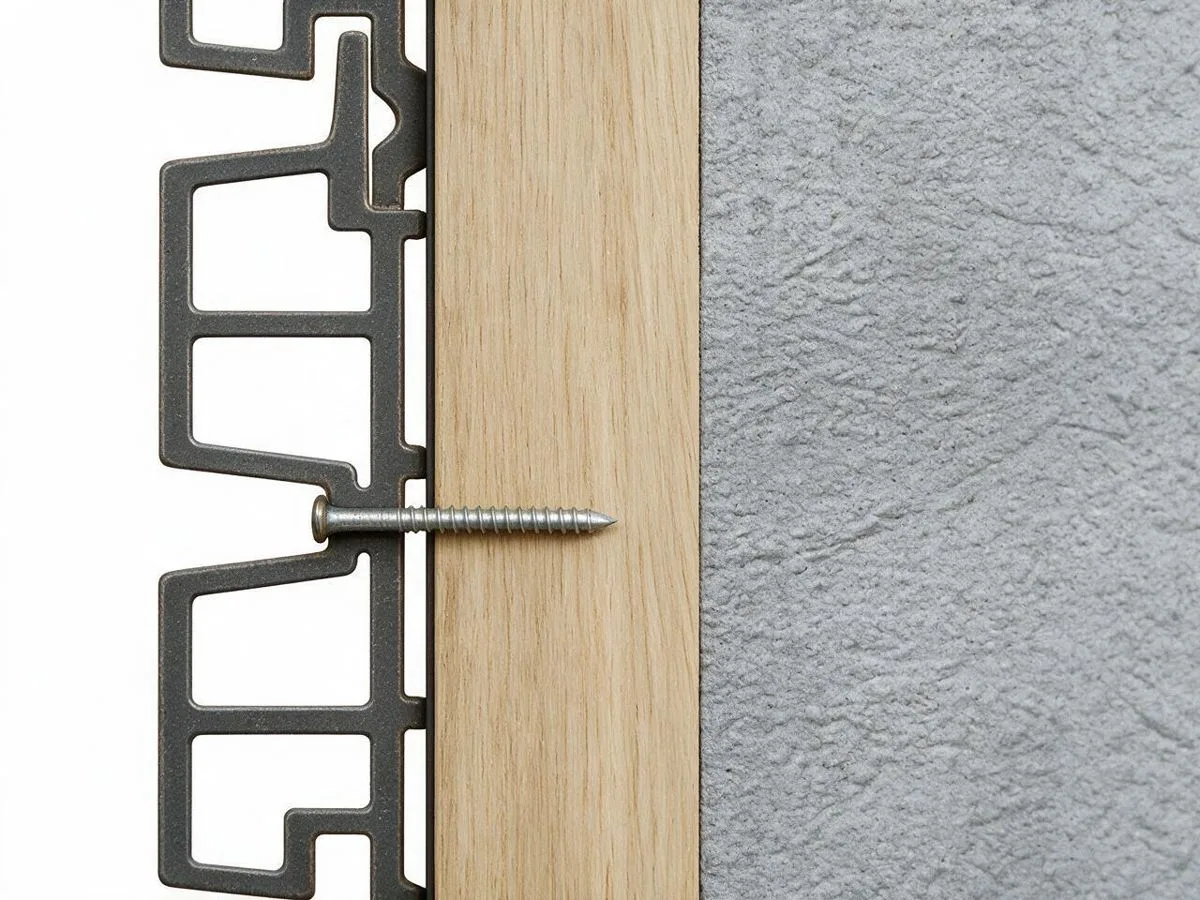
Install the boards from the bottom of the wall upwards, row by row rather than in vertical strips, so you can adjust the boards and line up the joints as you go. The groove faces down and the tongue faces up, so water cannot collect.
Along the run, use one colour-headed screw (ref. FD1447 to FD1451) in a single groove at every batten, i.e. 600 mm centres. Pre-drill the board at Ø 6 mm to allow for expansion, keep 15 mm from the board end and from the edge of timber battens, and screw without forcing.
Vertical composite cladding installation
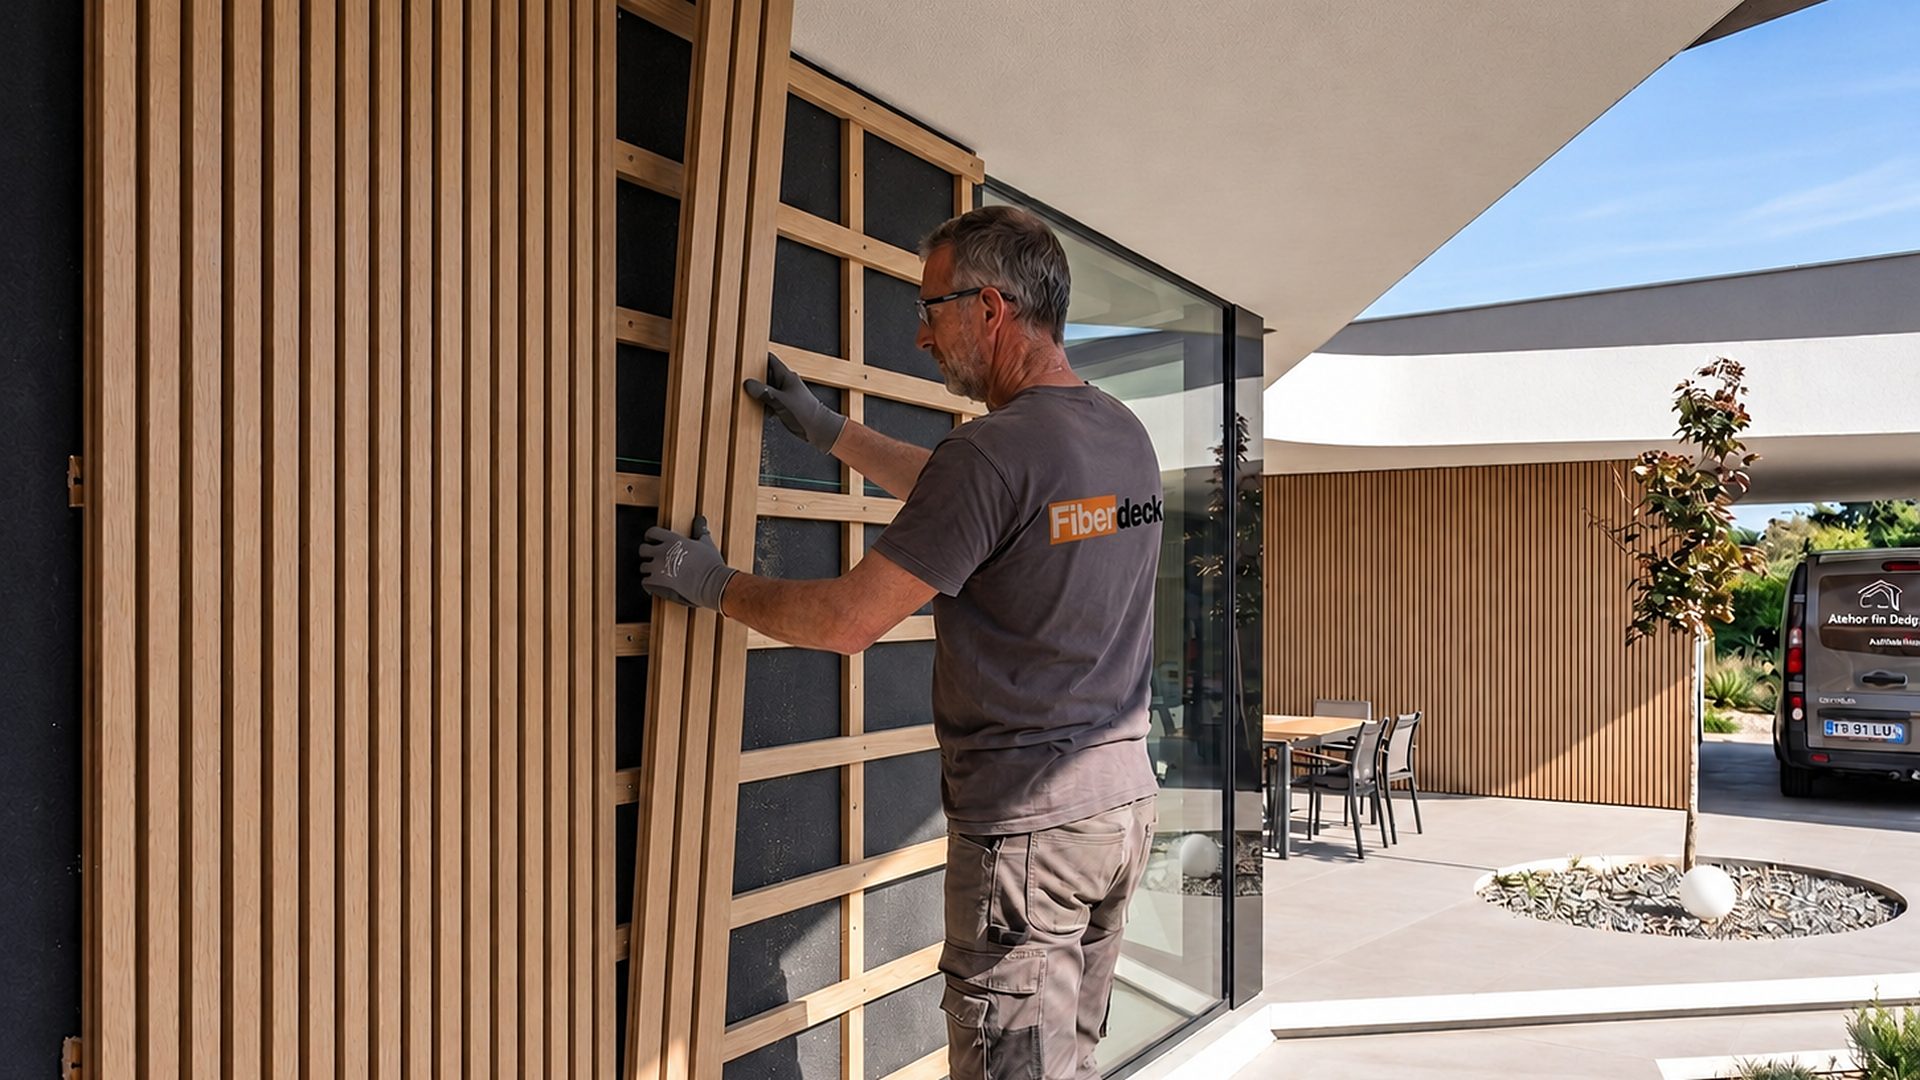
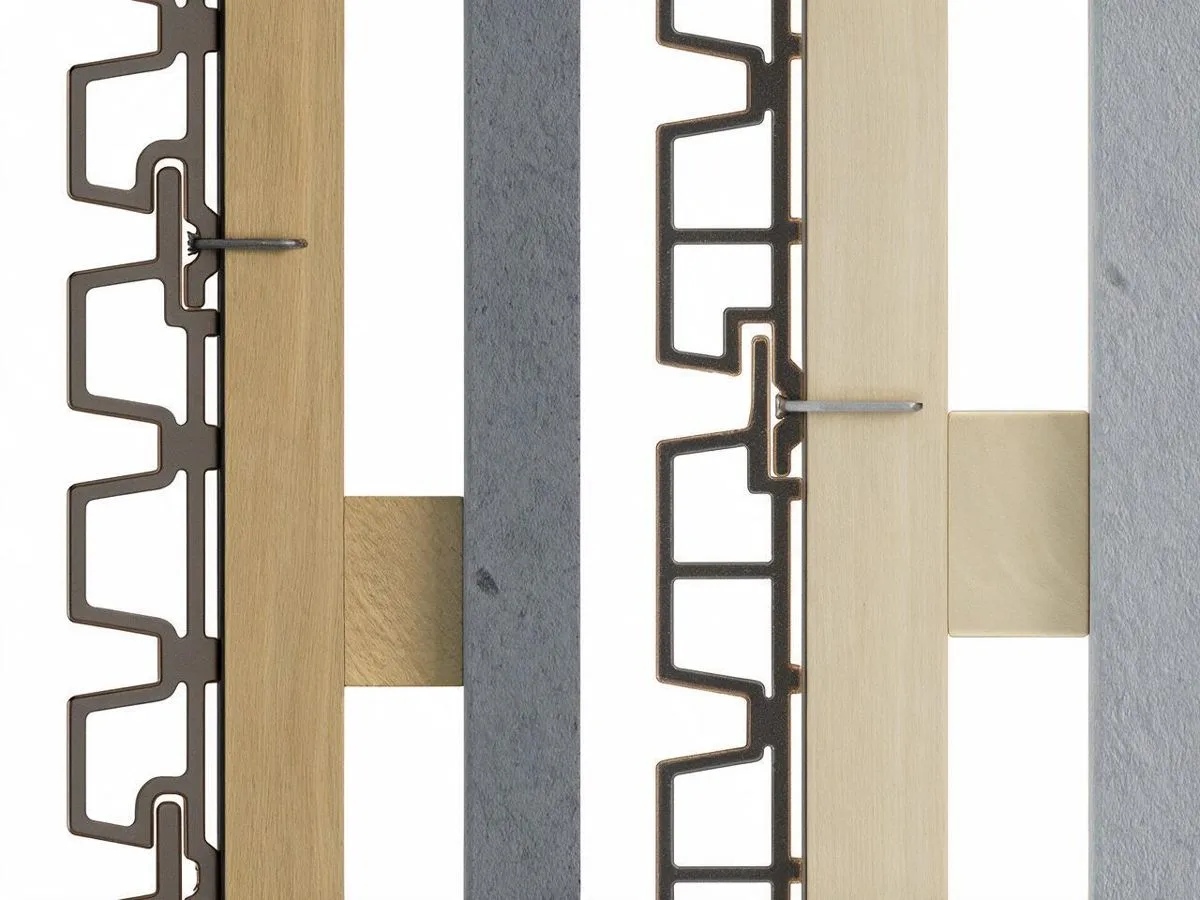
Vertical installation needs a double grid of crossed timber battens so that air can flow from bottom to top behind the boards. The outer layer, which carries the boards, is protected with EPDM tape.
Fix each board with an FD1940 screw in the lower tongue at every batten (600 mm centres): the fixing is hidden. At corners and special details, add a colour-headed screw in the trough of the profile (ref. FD1447 to FD1451). For face fixing, the FD1940 screw can be replaced with the colour-headed screws, following the same recommendations as for horizontal installation.
Fiberdeck offers several ranges to vary widths and looks: alongside the best-selling WEO®35 and WEO®60, you can also choose WEO® Essential and WEO® 120-60, depending on the facade style you want.
Installation mistakes to avoid
Most problems with composite cladding come from the installation, not the material. Points to watch:
- Reducing or removing the air gap by fixing the boards tight to the substrate: the facade can no longer breathe.
- Blocking the top and bottom air inlets (clogged grilles, debris): the airflow is cut off.
- Using a single layer of vertical battens for vertical installation: without a double grid, air no longer circulates.
- Skipping the breather membrane or the EPDM tape on the battens: water reaches the substrate and the fixings.
- Forgetting the 5 mm expansion gaps, or butting two boards between battens.
- Using an impact driver or overtightening: the screw head sinks in and starts a crack.
- Storing the boards on widely spaced supports: they deform through creep.
After installation: minimal care for composite cladding
The coextruded polyethylene layer wraps the entire surface of the boards: it protects them from moisture, stains and UV, with 20 years of colour retention without visible fading. No refinishing is ever needed: cleaning with a mild household detergent is enough, with no abrasive products. If a board is damaged, it can be replaced on its own: the method is explained in the WEO® technical guide.
The WEO® system holds a CSTB Technical Assessment (Avis Technique) no. 2.2_23-1855_V1 and the boards comply with product standard EN 15534.
Frequently asked questions about installing composite cladding
What batten spacing does composite cladding need?
Batten spacing is 600 mm maximum along the run for WEO®35, WEO®60 and WEO® 120-60 (645 mm on timber-frame buildings for WEO®35 and WEO®60), and 400 mm for WEO® Essential. At board ends, battens are doubled at 300 mm spacing so each end can be fixed.
What batten size should I use?
For direct fixing to masonry, 27 × 40 mm battens. Over external wall insulation, a first layer of 60 × 40 mm counter-battens and then a second layer of 27 × 40 mm battens. The timber must be use class 2 with a protective tape, or use class 3b, and strength class C18 minimum.
How do you fix cladding boards horizontally?
Horizontal installation uses face fixing: one A2 stainless steel colour-headed screw (ref. FD1447 to FD1451) in a single groove at every batten. Pre-drill at Ø 6 mm, keep 15 mm from the board end and screw without forcing.
Can the fixings be hidden?
Yes, with vertical installation: the FD1940 screw goes into the lower tongue of the board and is hidden by the next board.
What expansion gap should I leave?
A 5 mm gap between each board end and any obstacle: another board, window or door frame, wall or corner. The boards expand by about 1 mm per linear metre for a 40 °C temperature change.
Should cladding be installed horizontally or vertically?
Both are possible with every WEO® range: the choice is mainly a design one. Horizontal installation needs a single layer of battens, vertical installation a double cross-batten grid for ventilation.
Design your facade with WEO® composite cladding
Coextruded boards with a 20-year warranty, matching aluminium trims, dedicated screws: plan your project with the complete Fiberdeck composite cladding range.


